Makers Gotta Make
BLOG

DIY Fabric Pennant Flag Banners
Pennant flag banners add charm to any event, plus they are fast, easy-to-sew, and reusable! This is a simple sewing project that elevates festive decor for any holiday, birthday, baby shower, bridal shower, or wedding. One of my favorite ways to use pennant banners is to tailor them specifically to a child's interests for their birthday party such as their favorite sports team, movie, collection, colors, music, storybook, etc. After the party ends, they pull double duty as distinctive bedroom wall decor.
Between the celebrations and all that scrap fabric you've been collecting; flag pennants become excellent no-waste projects and the possibilities are endless!
*This post contains affiliate links. If you use these links to buy something, we may earn a commission at no cost to you. See our full disclosure and privacy policy statements here.
Gather Your Materials and Supplies:
10" fabric squares -- Two pieces of 10" fabric per flag.
Double Folded bias tape -- The color should either reflect a color in the flag fabric or it could contrast those colors. The length of the tape need to be able to hold the number of flags you are making. You can always sew two bias tape ends together.
Flag (triangle) template -- Either a homemade cardboard template or a triangle ruler.
Sewing machine
Sewing machine thread -- Ideally thread that matches the bias tape or is at least neutral in color.
Colored pencil or pen -- Choose a colored pencil that stands out on the fabric colors so that the cutting line is easy to see. You could also use a regular pen since you're going to sew 1/4" inch inside the cutting line, you'll never see the drawn lines.
Iron
Mary Ellen's Best Press -- This isn't a necessity for ironing (but it kind of is). I find that my sewing comes along much nicer when my fabrics have been pressed first. Best Press helps with sewing by not only pressing fabric flat, but also gives the fabric some body. To be clear: Best Press not starch.
*Rotary cutter -- Not a necessity. You can use sewing scissors instead. But rotary cutters sure are handy.
*Quilt ruler -- Not a necessity, but they are a great tool when you are drawing lines to cut with scissors. Definitely necessary when using a rotary cutter and mat.
*Cutting mat -- Only a necessity if you're using a rotary cutter.
*Point turner -- Not a necessity, but nice to have to help push out the points in a sewn corner.
Quick Tip:
Before sewing anything, I press all of my fabric including the bias tape, as well. I find that everything sews a little better when it's spritzed with a product like Mary Ellen's Best Press and then hit with the iron before sewing.

DIY Fabric Pennant Banner Directions
I made this flag template using a manilla folder and my quilting ruler. I have the top of the flag measured across at 7" inches. The sides are both 10" inches down to the point. At the time, I didn't have a triangle ruler or I would have just used that.
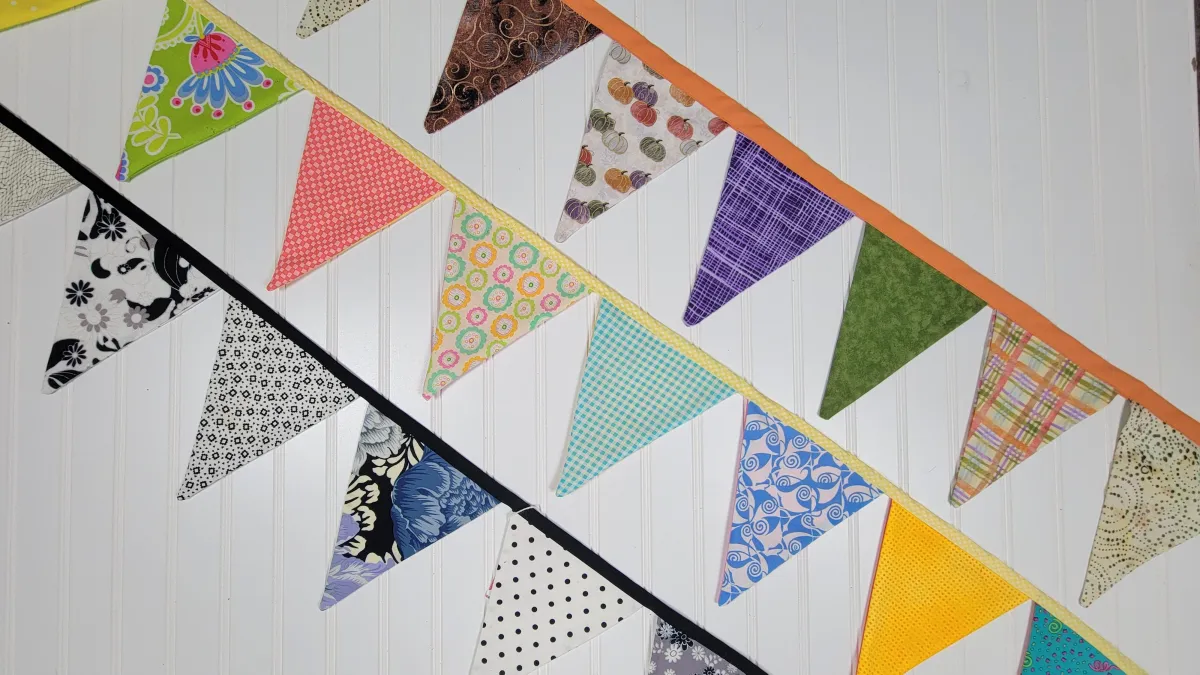
Feel free to make your banner as long as you'd like. However, if you'd like a really long one, you may have to sew two bias tape ends together. In general, I prefer to make several shorter ones and hang them end to end if I am going across a wide area. In the example below, I used one package of double folded bias tape and 10 flags on my banner.
You will need two pieces of fabric per flag. One thought: If you chose expensive fabrics such as a designer collection, or licensed like Disney, etc. Remember that you could always use those fabrics for the front of the flags and inexpensive fabrics (like generic solids, muslin, etc) for the backs.
Place your flag template (or ruler) on top of a piece of fabric and trace the flag onto it. You can draw these lines on the front or the back of the fabric, as you'll never see the lines once the flag is sewn.

Watch for directional fabrics like the pumpkin one I have in this photo. Cut out all of your flags.

Take two of the triangles and place them right sides together. Use a few pins to keep the flags from shifting (the pins are not pictured here).
On your sewing machine, sew 1/4" away from the edge on both sides, leaving the top of the flag unsewn.
At the bottom of the flag, I like to cut the tip off (careful not to cut your stitching). This makes for a nicer corner once I turn the flag inside out.

Turn each flag so that the right side of the fabric is on the outside. If you have a point turner, use gently inside the bottom of the flag to neatly press the points out.
I always prefer to press my flags at this point.

This next part is so easy that it feels like cheating. Before you construct the banner, you'll want to leave a 'tail' at the end of the bias tape for tying or attaching to something when it's hung up. I don't have a hard and fast rule for how long the tails are, but I usually leave somewhere around 8" inches or so at each end.
Take the bias tape and the flags over to your sewing machine. Leave about 1" at the end of the tape unsewn. After that inch, begin sewing the bias tape edges closed (about 1/8" inch from the edge). Sew it so as long as you want the length of your tail.
After the tail part of the tape is sewn, open the edges up and place a flag into it -- all the way back to the fold of the tape. Continue to sew 1/8" inch from the edge of the bias tape, catching the top of the flag inside. Honestly, the tape holds the flag so well that I never use pins for this part of the banner.
At regular intervals, add your next flag, and the next, and so on.

Once all of your flags have been sewn into the bias tape, keep sewing (to make the last tail) until you reach 1" inch away from the end.
The photo below shows how I take each tail end and in that 1" inch beginning part of the tails that I didn't sew, I fold it into itself and then sew it shut.
If you look closely at the photos, I actually accidentally forgot to leave an inch open on this tail. Easy enough to fix. I just took a seam ripper to that end. This final step makes for neater ends, but it's not going to make or break the banner if you decide to skip it.

Extra Shots
Any colors, designs, themes, patterns, and fabric types that you can come up with is appropriate for making pennant flags! Do you have your favorite grandpa's shirts, grandma's heirloom linens, or some old jeans?


You can always dress them up for extra shot of festive!

Download Our Free Printable Project Planner!
Join us for handmade hacks and inspiration.
{Plus, the freebies}
(Our newsletter subscribers are precious to us!)
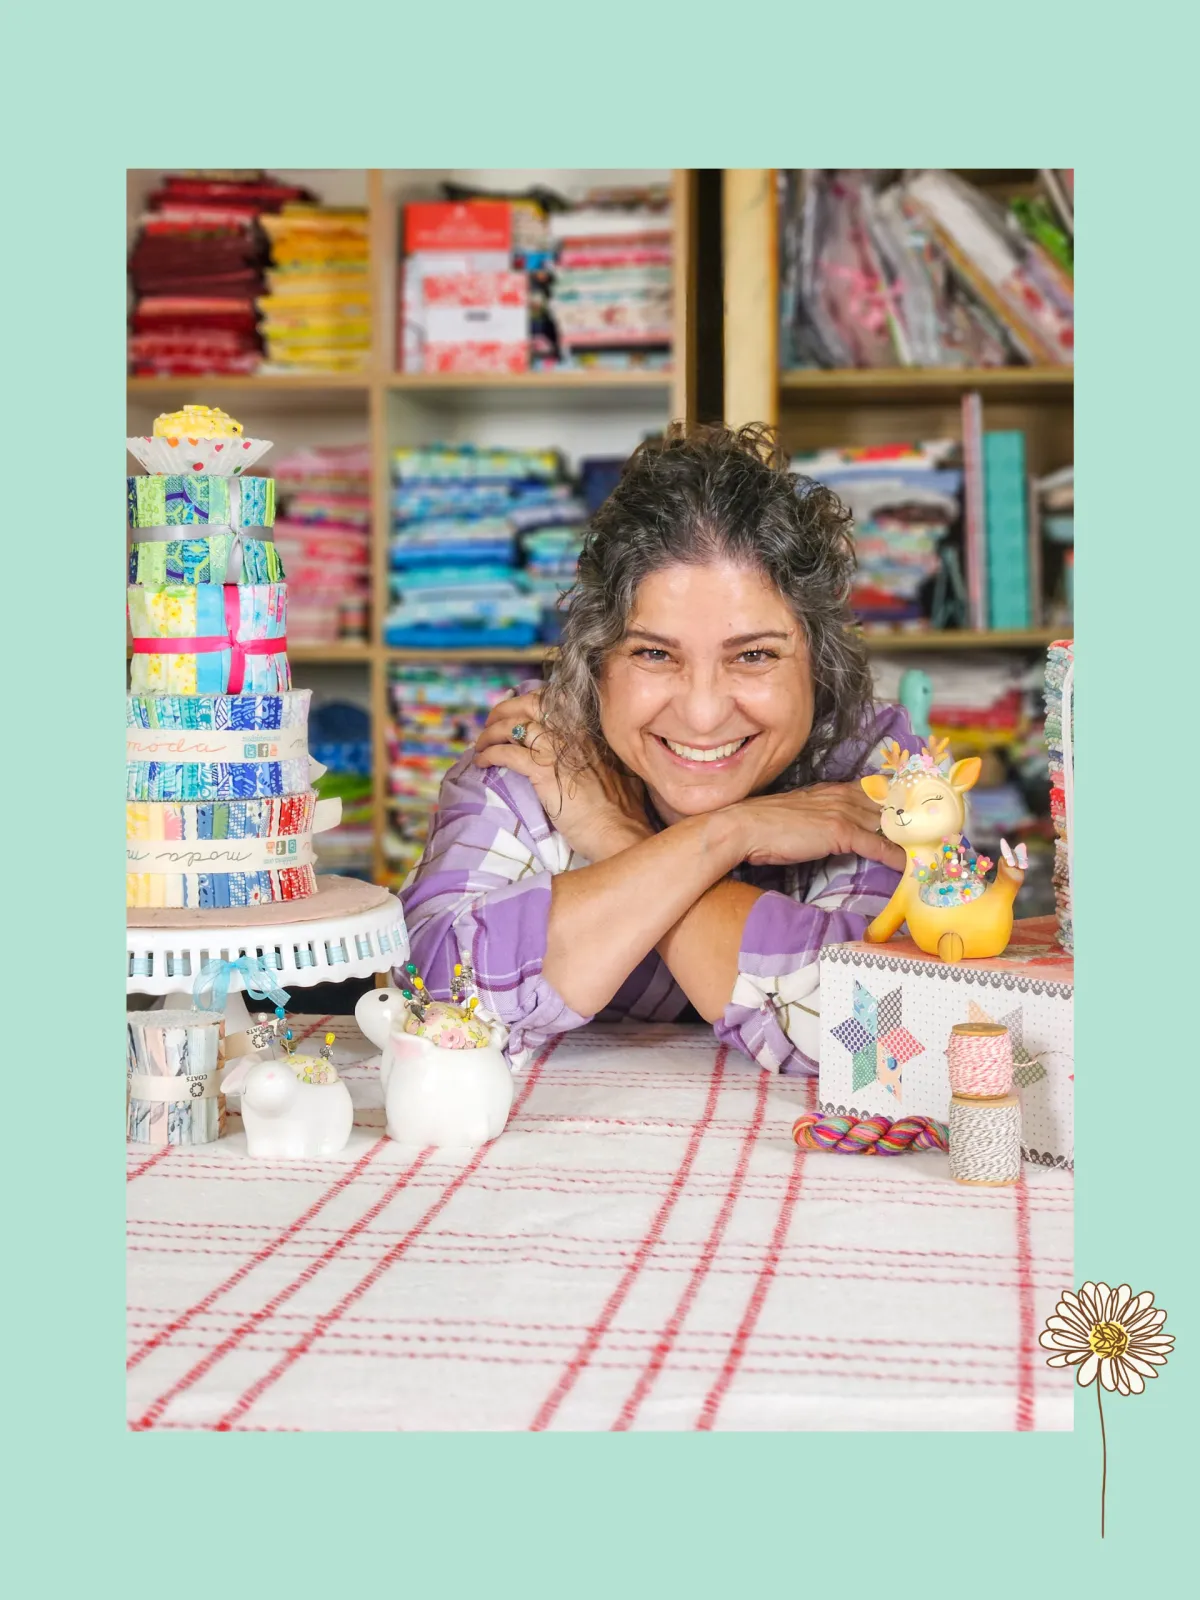
Hello My Creatives!
I 'm Chris
Makers gotta make, am I right? For creatives like us, making stuff brings joy to our hearts and soothes our souls like nothing else can!
At the heart of the Hold My Coffee brand is the belief that everyone deserves to experience the joy of making, regardless of how much time they have or how “perfect” the outcome is.
I'm here to remind you that it’s not about the size or perfection of a project—it’s about taking time for yourself, reconnecting with your creativity, and finding happiness in the process.
At Hold My Coffee {I gotta make this}, we scratch that sewing itch daily. We're top-tier enablers loaded up on caffeine. We've got your back.
We believe that perfection is an illusion. We encourage you to go 'off-pattern' and make it authentically you!


© Copyright 2023 Hold My Coffee {I gotta make this}
Privacy Policy / Disclosures & Disclaimers / Terms of Service