Makers Gotta Make
BLOG

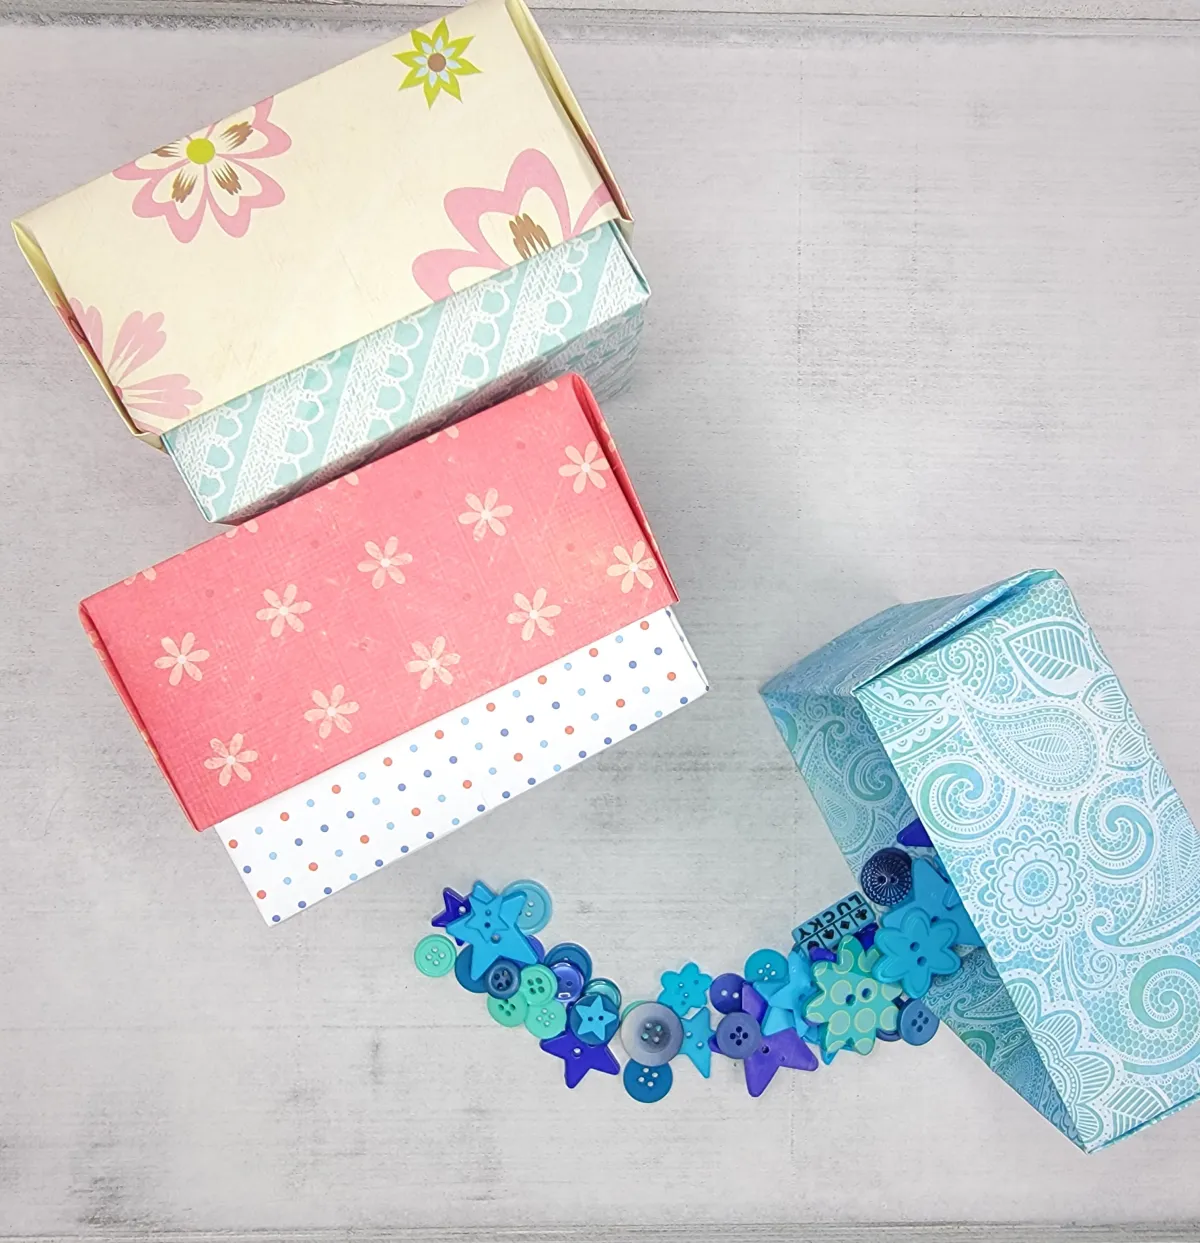
Easy DIY Origami Gift Box Tutorial
Have you tried your hand at origami {the art of paper folding} ? These adorable gift boxes are the perfect place to start. They're easy to make, useful, and addicting!
When I'm creating things, I like to do so with love and intention in my mind and through my hands. This concept may seem 'woo woo' to some, but I think it makes a difference! So, here's a little background info for you.
These little boxes are the paper version of Japanese 'masu' boxes, which were originally wooden boxes that were used to measure rice, as rice was a form of currency. Over time, masu boxes became a popular vessel for drinking sake. I think it's fun to think about the origination of crafts, let me know if you enjoy this, too!
Once it's completed your gift box will lock together quite well. Any small items you fill the box with will aslo help hold it all down. However, if you find that an end flap persists in poking up at the bottom of the box, just use a little tape or a cute sticker to keep it in place!
*This post contains affiliate links. If you use these links to buy something, we may earn a commission at no cost to you. See our full disclosure and privacy policy statements here.

Gather Your Materials and Supplies:
Origami crafts require very little in terms of materials {which is really nice}.
2 Square scrapbook papers or other pretty papers.
Before You Begin Folding
You can make your origami box whatever size you'd like. However, you'll want one of your square papers to be 1/2" inch smaller than the other. The larger paper will be the top of the box and the smaller paper will be the bottom. You'll only need the rotary cutter and mat (or scissors) if you need to cut one of the papers 1/2" inch smaller than the other.
If both of your papers that are already the right sizes, you're good to go. If not, you'll want to use your rotary cuttyer and mat (or scissors) to cut one of the papers 1/2" inch smaller than the other. In my photo example, my box lid paper is 12" x 12" inches and my box bottom paper is 11 1/2" x 11 1/2" inches.
How to Make Origami Gift Boxes
Start by turning one of your square pieces of paper over so that the white side is facing up. I usually start with the paper that creates the lid {there's no reason for this, I'm just quirky}.
1.Fold the paper in half horizontally, crease it well, and then unfold it. Now fold the paper in half vertically, crease it well, and then unfold it. There is now two lines creaes and four 'sections' on your paper.
2.Fold the paper in half corner-to-opposite-corner, crease it well, and open it back up. Do the same thing with the last two corners.
3.Now when you open the paper it should look like the creases make a star; having vertical, hoizontal and two cross lines.

4.Take one corner and fold it so that it touches the center of the paper. Do this for each of the 4 corners.
5.Now you have what looks like a square envelope.
6.Fold the bottom part up to where the points meet in the center and crease it nicely.

7.Reapeat this with the top part, bringing it down to the middle where the points meet. Crease it well.
8.Fully open the top and bottom flaps. We're going to crease the long side really well to make it easier to fold.
9.Repeat this with the other side.

10.Open the sides so they stand up and you'll notice a natural place where the two sides can be pushed in with your fingers towards the center to create the flap.
11.Press the uppermost part of the triangle flap down into the bottom of the box. You can see how the box is now taking shape. Press and pinch along the top edges to encourage the flap to remain at the bottom of the box.
12.Turn the box around and repeat this for the other side of the box. You will want to fuss with the edges by pressing and shaping to make the box sturdier.
As I mentioned earlier, if one of the flaps won't stay where you'd like it to, just use a little piece of tap ot a cute sticker to hold it in place.

Ta-Da!! You've made an adorable, one-of-a kind gift box! I promise that there's no way you'll want to stop at just one.
Follow along and make some origami gift boxes with me!
Download Our Free Printable Project Planner!
Join us for handmade hacks and inspiration.
{Plus, the freebies}
(Our newsletter subscribers are precious to us!)
Hello My Creatives!
I 'm Chris
Makers gotta make, am I right? For creatives like us, making stuff brings joy to our hearts and soothes our souls like nothing else can!
At the heart of the Hold My Coffee brand is the belief that everyone deserves to experience the joy of making, regardless of how much time they have or how “perfect” the outcome is.
I'm here to remind you that it’s not about the size or perfection of a project—it’s about taking time for yourself, reconnecting with your creativity, and finding happiness in the process.
At Hold My Coffee {I gotta make this}, we scratch that sewing itch daily. We're top-tier enablers loaded up on caffeine. We've got your back.
We believe that perfection is an illusion. We encourage you to go 'off-pattern' and make it authentically you!


© Copyright 2023 Hold My Coffee {I gotta make this}
Privacy Policy / Disclosures & Disclaimers / Terms of Service