Makers Gotta Make
BLOG

Sew a Self-Binding Baby Blanket
Welcoming a new baby into the world is always a joyous occasion, and what better way to celebrate than with a homemade baby blanket? These adorable creations make wonderful gifts, especially when you personalize them with special colors and patterns for the little one in your life. This baby blanket project is perfect for busy sewists because it’s extra simple – the blanket binds itself! Let’s make a cozy, self-binding baby blanket that’s as unique and special as the new arrival.
Gather Your Materials and Supplies
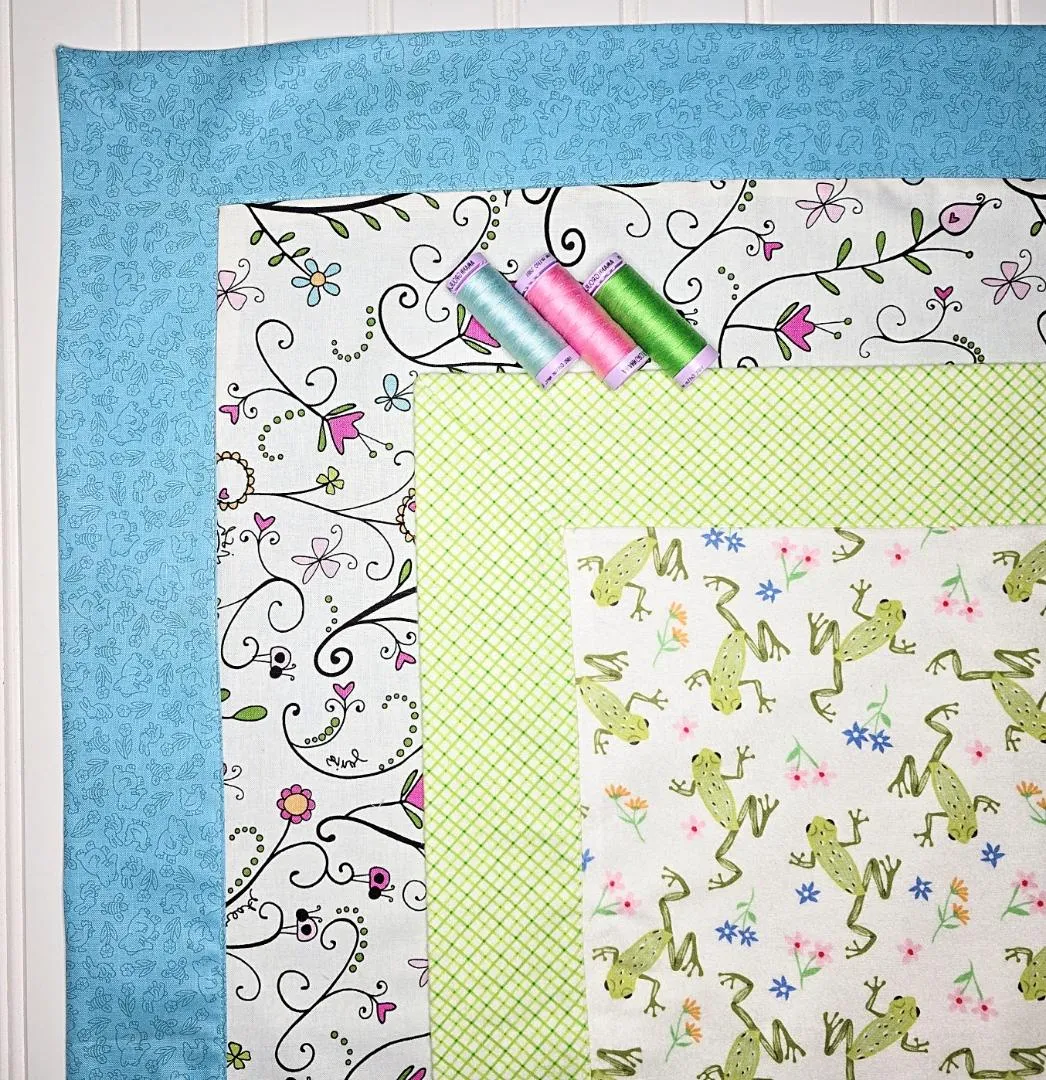
1 1/4 yards of flannel or cotton fabric for the backing/binding
7/8 yard of contrasting fabric for the front
Thread (white or matching the fabric)
Pins
Rotary cutter (or fabric scissors)
Quilting ruler
Rotary cutting mat
Erasable pen such as a 'Frixion' pen (ink disappears when you iron it)
Sewing machine
Iron

How to Sew a Self-Binding Baby Blanket
1. Cut the backing fabric into a 40” x 40” square. Then, cut your contrasting front fabric into a 30” x 30” square. To ensure they are perfectly square, fold each piece diagonally by bringing one corner up to meet the opposite corner. The edges should line up perfectly. Repeat this with both the front and back pieces of fabric. This cutting step isn’t shown in the photo.
Quick Tip: If you want to make a doll blanket instead, just swap the dimentions out for 30" x 30" and 20" x 20".
2a. On the wrong side of the front fabric (the 30” square), use a ruler and erasable pen to make a tiny ¼” inch square in all four corners of the fabric piece.
2b. The tiny corner squares should look like this.
3a. Now, we are going to put pins in the center of all four sides of the two fabric pieces.
3b. To find the center of each side, you just fold the fabric in half and place a pin at the center of the fold. This needs to be done on all four sides of both fabrics.

4a. With the right sides together, center the contrasting (front) fabric in the middle of the backing fabric. Start with one side at a time and line up the center pin on the front fabric with the center pin on the back fabric.
4b. Once they are lined up, secure the two fabrics together with one of the pins and remove the other.
5. Now, mark a spot on one side to leave open for turning the blanket right side out later. Start at the center pin and place a second pin about 5"- 6" inches away from the center pin on the same side.

6. At each corner, place a pin at the spot where you marked the ¼” squares earlier. These pins will indicate where to stop sewing as you work around the blanket.
7. Your pinned fabrics should look like this. At this stage, your blanket might look a bit unusual, but don't worry—you’re halfway there! At this time, you may want to add extra pins by starting at the middle pins and adding more along on each side. It makes it easier to keep things straight as you sew.
8. Now, sew the fabric pieces together with a 1/4-inch seam along all four sides. Be sure not to sew over the 3-inch opening you left on the first side. Also, stop sewing at the pins you marked at the corners. Once all sides are sewn, your blanket will resemble having ears at the corners.
9. Next, we will miter the blanket corners. Start at one corner and pull the "ear" taut, matching up the raw outside edges to form a triangle. Fold the center fabric in half diagonally, aligning the intersecting seams for that corner on top of each other. Place the folded ear flat on the cutting mat to mark the sewing line.

10. Place a ruler evenly along the folded edge and align the right edge of the ruler so that it extends straight down to where your stitching ends.
11. Use the erasable pen to mark a vertical line on the fabric ear.
12. Sew along the marked line.
13a & 13b. Cut off the excess fabric at ¼” inch from the seam line.
Quick Tip: This is a great time to give your inside-out blanket a good press with the iron. Press the seams away from the center of the blanket and open the diagonal corner seams. Admittedly, I sometimes skip this step, but everything lays much nicer if you take the time to do it.

14. Turn the blanket right side out by pulling the fabric through the 5”-6” inch opening you left earlier. Make sure to push out all the corners to sharp points. Press your blanket with a hot iron. As you press, fold the raw edges of the opening under and press them down neatly so they align with the seam of the rest of that side.
15. Once the blanket is pressed flat, it's time to add a topstitch. For the best appearance, lengthen your stitch length slightly. For example, if your stitch length has been set to 2.5 while sewing, increase it to 3.0 for the topstitching. Sew ¼ inch inside the binding seam (where the binding meets the top fabric) all the way around the entire blanket. And you’re done!
At first glance, this project may look like it has a lot of steps. However, the sewing goes much faster once you complete your first self-binding blanket. Before you know it, you’ll be making personalized blankets for every baby shower and welcoming party. I promise, this will quickly become your go-to baby gift!
Download Our Free Printable Project Planner!
Join us for handmade hacks and inspiration.
{Plus, the freebies}
(Our newsletter subscribers are precious to us!)
Hello My Creatives!
I 'm Chris
Makers gotta make, am I right? For creatives like us, making stuff brings joy to our hearts and soothes our souls like nothing else can!
At the heart of the Hold My Coffee brand is the belief that everyone deserves to experience the joy of making, regardless of how much time they have or how “perfect” the outcome is.
I'm here to remind you that it’s not about the size or perfection of a project—it’s about taking time for yourself, reconnecting with your creativity, and finding happiness in the process.
At Hold My Coffee {I gotta make this}, we scratch that sewing itch daily. We're top-tier enablers loaded up on caffeine. We've got your back.
We believe that perfection is an illusion. We encourage you to go 'off-pattern' and make it authentically you!


© Copyright 2023 Hold My Coffee {I gotta make this}
Privacy Policy / Disclosures & Disclaimers / Terms of Service